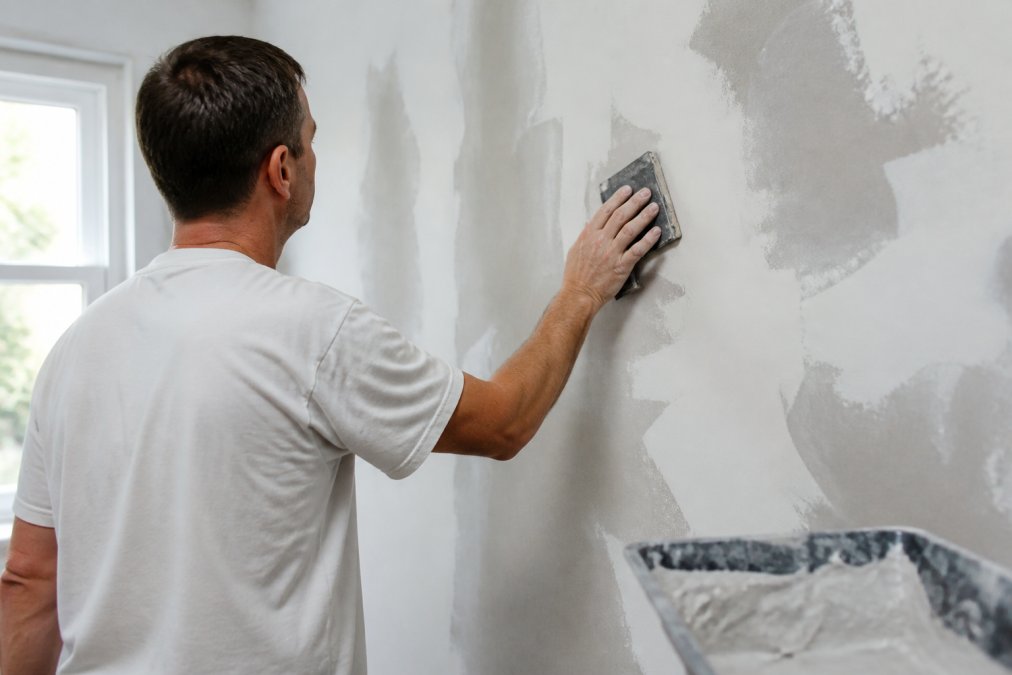
 ultimate-guide
How to Prepare Walls for Interior Painting Step by Step
Table of Contents
- What You'll Need Before You Start
- Clear the Room and Protect Your Furniture
- How to Clean Walls Before Painting
- How to Patch Drywall Holes for Painting
- Sand, Dust, and Tape for a Smooth Finish
- When to Use Primer on Interior Walls
- How Long Does Wall Prep Take Before Painting?
- Frequently Asked Questions
Last Updated: September 18, 2026
What You'll Need Before You Start
Learning how to prepare walls for interior painting is the single most important step in getting a finish that lasts, and it starts with gathering the right tools before you touch a single wall. Learning how to prepare walls for interior painting is the single most important step in getting a finish that lasts, and it starts with gathering the right tools before you touch a single wall. This guide walks through how to prepare walls for interior painting step by step, from clearing the room to priming.
Here's what you'll need on hand:
- Cleaning supplies: degreaser, mild dish soap, bucket, sponge, lint-free cloths
- Repair materials: spackle or joint compound, putty knife, caulk, sanding block
- Sanding and dust tools: sandpaper (120- and 220-grit), tack cloth, vacuum with brush attachment
- Protection: painter's tape, drop cloths or plastic sheeting, canvas tarps
- Primer: stain-blocking or latex primer, depending on the wall
According to the EPA's guidance on lead-safe renovation, homes built before 1978 may contain lead-based paint, which requires special handling during sanding and prep. If your home predates that threshold, test before you sand.
Clear the Room and Protect Your Furniture
Empty the room completely before you begin, or push everything to the center and cover it. Furniture, lamps, and decor should be removed or wrapped, and floors covered with drop cloths rather than thin plastic, which tears underfoot.
Protecting the space is not optional. Paint drips, dust from sanding, and stray primer splatter travel farther than most people expect.
Work in this order:
- Remove wall hangings, outlet covers, and switch plates
- Move furniture out or cluster it under a tarp in the center
- Lay drop cloths wall to wall, overlapping seams
- Tape plastic sheeting over doorways to contain dust
How to Clean Walls Before Painting
Knowing how to clean walls before painting determines whether your topcoat actually adheres. Paint bonds poorly to grease, dust, soap residue, and mildew, and the right cleaning method depends on what the wall is made of and what's on it.
Match the cleaner to the wall material
- Painted drywall: mild dish soap in warm water. Drywall paper facing fuzzes and pills if it gets soaked, so wring the sponge nearly dry and rinse with a barely damp cloth.
- Plaster: the same mild solution works, but plaster is porous and slow to dry. Wipe in small sections and give it a full 24 hours before priming.
- Wood paneling or trim: a degreaser followed by a light scuff with 220-grit, because old varnish and furniture polish leave a slick film soap alone won't cut.
- Brick or block: a stiff brush and a degreaser; the texture traps dust that a sponge just pushes around.
Identify the contaminant before you clean
Different soils need different treatments, and guessing wastes time:
- Kitchen grease: a degreaser, not soap. Grease hides in the fine texture of the wall and feels slightly tacky to the touch.
- Bathroom mildew: a cleaner containing a mildewcide. Never paint over mold, treat it, let the surface dry completely, and fix the moisture source first, or it returns through the new paint.
- Nicotine and smoke residue: a TSP substitute or a dedicated smoke-residue cleaner. This film is amber and waxy, and it bleeds through latex paint unless it's removed and the wall is sealed with a stain-blocking primer.
- Wallpaper paste: warm water and a sponge, working in sections. Paste residue feels slick and causes paint to crawl and fisheye.
The cleaning sequence
- Dust the walls top to bottom with a dry microfiber cloth or a vacuum brush attachment. Cleaning a dusty wall just makes mud.
- Wash in sections, working top to bottom so drips don't streak clean areas.
- Rinse with a clean, damp cloth, no soap left behind.
- Let the wall dry fully. Drywall and plaster can look dry on the surface while still holding moisture underneath.
For glossy or heavily soiled surfaces, a light scuff with fine sandpaper after cleaning helps the new paint grip. Test an inconspicuous spot first: some older paints and cleaners react badly to strong degreasers.
How to Patch Drywall Holes for Painting
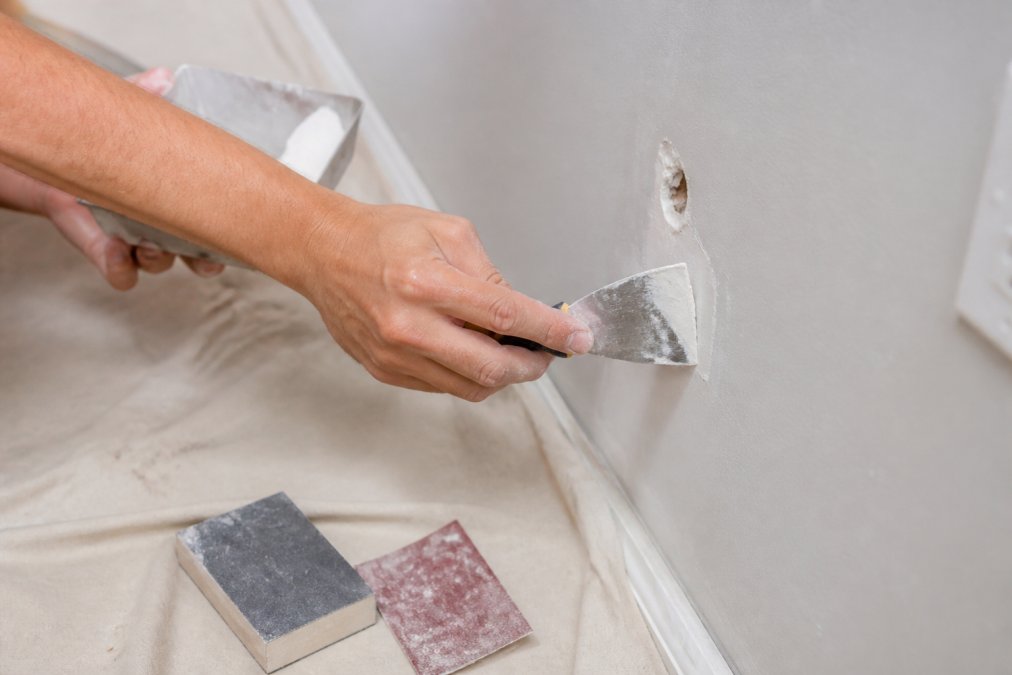
Learning how to patch drywall holes for painting properly means the repair disappears under the topcoat instead of telegraphing through it. Small nail holes need only a dab of spackle, while larger holes require joint compound applied in thin layers.
Sand, Dust, and Tape for a Smooth Finish
Sanding smooths patched areas and roughens glossy surfaces so primer and paint adhere. How you sand depends on the wall material, and how you handle dust and tape determines whether the finish looks professional or amateur.
Sand by wall material
- Drywall: 120-grit for feathering joint compound, then 220-grit for a final pass. Drywall paper tears easily, sand with light pressure and a sanding block, never a bare hand.
- Plaster: 100- to 120-grit to knock down ridges, then 220-grit. Plaster is harder than drywall and clogs paper faster, so change sheets often.
- Wood: 120-grit with the grain, then 220-grit. Sanding across the grain leaves scratches that show through paint.
- Previously painted glossy walls: 220-grit just enough to dull the sheen. You're creating a mechanical tooth for primer, not removing the old coating.
A sanding block keeps edges flat and prevents gouging. For large areas, a pole sander saves your shoulders and keeps pressure even.
Dust removal: the step most people rush
Residual dust causes paint to bead, leaves a gritty finish, and weakens adhesion. Do it in this order:
- Vacuum walls, baseboards, trim, and floors with a brush attachment.
- Wipe walls with a tack cloth, working top to bottom.
- Vacuum again, the tack cloth lifts fine dust that settles back down.
- Wipe the floor and any horizontal surfaces one more time before you open the primer.
Tape for crisp lines
Press painter's tape firmly along trim, baseboards, and ceiling lines, and burnish the edge with a fingernail or a plastic putty knife so paint can't creep underneath. For crisp cut-in lines, tape the edges you can't reach with a brush, and remove tape while the paint is still slightly tacky for the cleanest edge.
When prep fails: troubleshooting the common culprits
Most prep failures trace back to one of four causes, and each has a fix:
- Paint peeling in sheets: usually grease, dust, or a glossy surface that wasn't scuffed. Scrape the loose paint, clean, sand, and re-prime.
- Paint bubbling or blistering: moisture behind the wall or a dirty surface. Find and fix the moisture source, then let the wall dry before repainting.
- Patch telegraphing through the topcoat: the compound wasn't feathered far enough or wasn't sanded flush. Skim a wider coat, sand, and re-prime.
- Paint flashing (dull and shiny patches): uneven absorption from skipped primer or inconsistent sanding. A primer coat evens out the surface.
When to Use Primer on Interior Walls
Knowing when to use primer on interior walls saves a coat of paint and prevents stains from bleeding through. Primer is required when you're covering dark colors, patched bare drywall, or stains like water marks and smoke.
| Situation | Primer Needed? | Best Type |
|---|---|---|
| Bare drywall or fresh patches | Yes | Latex primer |
| Water or smoke stains | Yes | Stain-blocking |
| Dark color to light | Yes | Tinted primer |
| Clean, similar-color repaint | Optional | Latex primer |
How Long Does Wall Prep Take Before Painting?
A typical room takes one to three days to prep, depending on wall condition and how much patching is required. Cleaning and protecting the space can take a few hours, while drying time for joint compound and primer adds the bulk of the schedule.
Frequently Asked Questions
Do I really need to wash walls before painting?
Yes, cleaning is one of the most important steps in wall prep. Kitchen walls collect grease and bathroom walls attract mildew, and paint will not adhere properly to dirty surfaces. Use a degreaser or sugar soap solution and wipe walls with a lint-free cloth. Rinse with clean water and let them dry completely before patching or priming. Skipping this step can cause peeling and uneven sheen within months.
What is the best way to fill holes in drywall before painting?
For small nail holes, apply lightweight spackle with a putty knife, let it dry, then sand flush. For larger holes, use joint compound and a patch kit. Apply in thin layers, letting each dry before adding the next. Sand the final layer smooth with fine-grit sandpaper, then wipe away dust with a tack cloth. Prime the patched area before painting so the repair does not show through the topcoat.
Do I need to sand walls before painting if they are already painted?
You do not need to sand every inch, but light scuffing is important. Sanding creates a rough surface that helps new paint bond to the old finish. Use 120-grit sandpaper on a sanding block and focus on glossy areas, patched spots, and any imperfections. After sanding, wipe down walls with a tack cloth or damp lint-free cloth to remove dust before applying primer or paint.
How do I know if I need a primer before painting?
Use primer when you are painting over bare drywall, patched areas, dark colors, or stains that bleed through. Stain-blocking primer is essential for water stains, smoke damage, or marker marks. If the existing paint is in good condition and you are repainting a similar color, a paint-and-primer combo may work. When in doubt, priming adds a uniform base that improves adhesion and helps the topcoat last longer.